Tuesday, November 27, 2012

It's been too long...

And I have been busy crafting...but not busy posting! I've had some good reasons to be away from the blog, but do have a ton of crafts I hope to update with soon, so stay tuned!

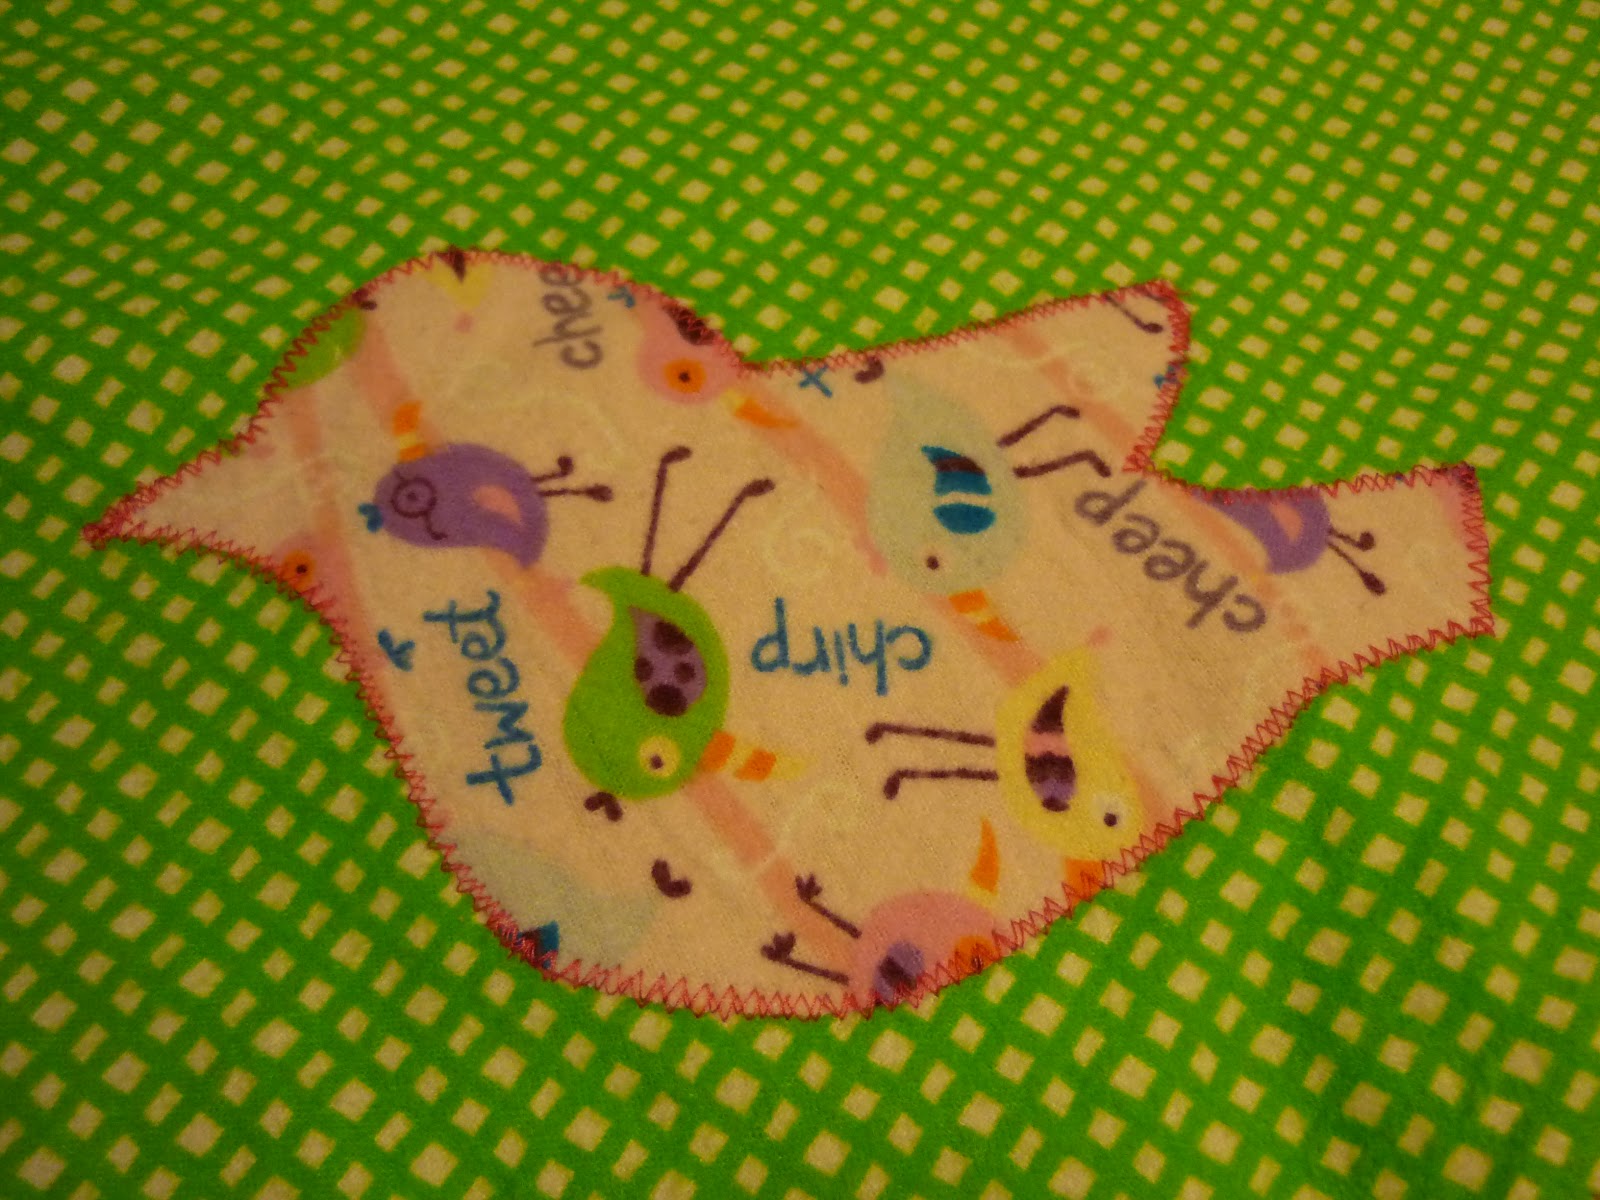
In the meantime...here's a fun little baby blanket/drool bib I made last spring but never posted.


I just love this applique bird...and it matches the fabric on the reverse of the green side :)
 
More to come soon, I promise :)

Tuesday, May 8, 2012

Picnic Blanket

I am totally in love with this heart fabric. It is an ikea duvet cover that I scored at a second hand store for about $5 a couple years ago. What a brilliant way to get fabric - so much for so cheap! I've done one or two small projects with this fabric and used up bits of it, but have been waiting for the perfect project to put it to good use.


While I was at Target in Florida in February, I saw this vinyl table cloth and an idea was born!


 A picnic blanket - one side vinyl, one side my favourite soft cotton. Such a simple but lovely project.


I am so looking forward to busting this out at my favourite summer music festival - Hillside!

Thursday, May 3, 2012

Button Earrings


I can't remember where this idea came from, but it is one of the easiest crafts I've done! So easy that I've made tons of them :)


Using a bag of buttons I got at Michaels for about $4, I sorted and found matching buttons, used contact cement and stuck them to the earring backings, which I also got at Michaels. So simple!

I gave a bunch to my neices for easter/birthdays. They were so excited to put them on right away :)


Wednesday, April 18, 2012

The most special craft

My maternal grandmother - ("Gummy") passed away 4 years ago this week...making this one of the most special and unexpected crafts I could have done. You can bet I won't be giving this one away as a gift!

Over Easter, I was going through my mom's yarn stash looking for a specific colour for a small project. I didn't find the colour I wanted, but instead found something so much better...squares my Gummy had knit before she passed away. It was a project my mom had her doing to keep her hands and mind busy - and there was just enough to put together into a little baby blanket. Over the past two weeks I have crocheted these pieces together and here is the final product:


I wish everyone could have known this wonderful woman...definitely top of my books as the most kind, caring and generous person. Here is Gummy and I back in 2003. 


Wednesday, March 7, 2012

Pashmina Cowl

A couple weekends ago, I managed to finish a couple projects for myself! If you follow this blog, you know that I am often crafting for others, and LOVE to do that, but this was a nice treat to have some things for myself.

One of those projects was this pashmina cowl. My mom had purchased the yarn and intended to make it for me, but while I was visiting her I got started on it myself because I'd finished all my own knitting projects.  I started this around Christmas time, but ran out of yarn, and so didn't finish it until just last weekend.

The pattern came from the book "Last Minute Knitted Gifts" - my mom had borrowed it from the library. I wish I knew the name of the yarn used - but it is thicker than the recommendation and I had to modify the pattern based on the gauge. A free version of this very easy pattern is available on ravelry.


I love the colour, and it's very cozy! And it even matches a little something I made for myself last winter.

Friday, February 24, 2012

Felt Board Fun

My sister had made her daughter a felt board sometime last fall, and for a while I'd been thinking about making her more stories. Since I had never made anything like this, I thought the alphabet and counting felts might be an easy place to start. 


The numbers & letters came from Michaels, and I just stuck them on to the cut out squares of felt. The shapes used for #8, 9 & 10 were also bought and stuck onto felt - the ladybugs, flowers and cupcakes. All the other shapes I cut out. (For a more cost effective option, I recommend checking your local dollar store for felt before Michaels.)


As I said, my sister had made the felt board but it it pretty simple - you just need a piece of cardboard and a piece of felt! :) Two of my friends have made them as gifts since I did this project...it's a great home made option for any little one!

Given my neice's age - some stories to play with might be a little more fun - Here are some I might try to make in the future: Itsy Bitsy Spider, The Giving Tree, The Three Billy Goats. There are so many fun ones to look at on etsy...I could certainly let my imagination run wild!

Monday, January 2, 2012

Eat. Play. Sleep. Repeat.

I am absolutely in love with this quilt I made. The moment I saw it on V and Co's blog I knew I had to try it out for my friend Brett who is due to have her first baby in just over 10 days. Unfortunately I missed her shower but was able to give her the quilt in early December and have just been slow in posting the photos.

I really wanted to use some pre-cut fabric as I thoguht that would be easier and that is what the pattern uses. In retrospect I could have bought small pieces of various fabrics and cut them appropriately for the stripe around the edge. But, then I saw the cutest fabric on etsy and had to have it for this project. It is called "fox trails" by Riley Blake and so cute.


As I am truly a beginner quilter, I hoped I'd be able to pull this quilt off - and I think I did well! The only modification is that instead of truly quilting the final product I just made it a "tie quilt". I knew this technique would be a bit easier for a beginner like me, and still look okay in the end. I am glad I did this - it was much easier than trying to sew-quilt it.


Wrinkyl photo aside, I think it's pretty cute!! I may make this one again some day...and I've already been dreaming up my next project for the fox trails fabric...stay tuned for that :)


People often ask me how long a project takes, and there are so many variations with each thing I knit or sew that it's hard to answer...but I've started to pay more attention to the time devoted since it is such a common question. This quilt took approximately 23 hours - which I did over just under two weeks. The longest parts to do were the letters sewn on the front, the tying of the quilt and the border sewn on by hand. :)

Wednesday, December 21, 2011

Something Festive!

A couple months ago my cousin sent me this link:http://www.blogher.com/customizable-fabric-scrap-wreath and I was inspired to make a Christmassy version!

I got a metal frame at Michaels for about $5 and then went to Fabricland where all the holiday cottons were on sale in the month of November. I choose 11 designs and had them cut the minimum amount - 4inches - of each. That only cost about $7 - so for only $12 I had my supplies ready to go. 

All I had to do was cut the strips and tie them on to the frame - which sounds easy - but took about 3 hours! Thankfully I just put on some good tv and got it done :) 

I've noticed since there are lots of blogs where people used a metal coat hanger, which you could also do but I really liked the depth the store bought metal frame added.

Oh and the moose in the centre was also from Michaels - part of a felt garland that I cut apart and made into some ornaments.

Tuesday, December 20, 2011

Apple & Pumpkin Butter


Inspired by the load of apples I had from apple picking at Thanksgiving, I decided to try out making some apple butter. Using this recipe:
http://www.mybakingaddiction.com/crock-pot-slow-cooker-apple-butter-recipe/ I put it in the slow cooker over night, and it couldn't have been easier. I was then inspired to try some other flavors so tried out this one http://www.skinnytaste.com/2010/10/pumpkin-butter.html 
(this is also my new favourite food blog btw).

Both are super yummy!

What do you do with apple or pumpkin butter you ask?

Well, you can put it in cute little jars like I did and give them to your friend for their birthday :)
Or, if you want to eat it all yourself - you can spoon it into your oatmeal, mix it with plain yogurt, put it on toast or a cracker, spread the apple butter on brie and bake it with almonds for a delicious appetizer....or any other creative ideas you can come up with. It's so tasty you'll want to find all the ways you can to use it up!

I recently did another batch of the apple butter, and because I wanted to give it as Christmas gifts, I boiled it as you would when canning things - so that it will preserve longer.

Try it out, you will not be disappointed!

Monday, November 7, 2011

Jersey Knit Bracelet

Finally - a project that is NOT a baby blanket. Although I did work on a couple more blankets this weekend,  I though it was time for something different. I have a few new favourite blogs I follow recently, and for crafts I am just in love with V and Co. I just love her ideas, and can promise this won't be the only thing you seem me make from her site!

Following her tutorial, I made a few of these Jersey Knit Bracelets this weekend.
These are not the best photos, but you'll get the idea.


I used some of the t-shirts I had leftover from my t-shirt necklaces.

Not sure I'll wear these any time soon as I think a chunky bracelet like this is more suited for summer....but I had a lot of fun trying it out :) 

Thursday, November 3, 2011

Blankets with Baby's Initials!

Well, people warned when I started this blog that it might be hard to keep up with when the excitment wore off...but the reality is that other things have occupied my time lately, and I just haven't beend doing as much crafting as I might like. However, I did find some time this fall to catch up on all the 2011 babies I hadn't had a chance to make anything for yet...and with that came the innovation of baby blankets with initials! Inspired by my friend Ian's twins I tried this out...and loved it. It is the same as other baby blanket variations you've seen on here (the taggy or rag edge blanky) except with the lil' babe's initials!

 Here are some of my more recent ones:


I hope to be back soon with some of my cooking adventures...stay tuned!

Wednesday, November 2, 2011

Crafts in Action: Camden SwamiNathan

I am long overdue on an update...and have been making lots of cute baby blankets lately - finally catching up to all the 2011 babies! Here's a sneak peak of a recent one - Camden SwamiNathan!

Tuesday, July 5, 2011

Cascading Colours

I have a bit of a crafting rule I've been trying to hold myself to: when I'm working on one craft of a certain type, I should finish that craft before starting a new project. So....if knitting something, I should finish that knit project before a new one. However, if I want to take a break from my knitting to sew, that's okay. But, last week I was just feeling very tired of a blanket I've been knitting since November. I've avoided knitting because of this rule and my lack of motivation on this project. This blanket I've been knitting for so long will be wonderful when it's complete (stay tuned) but I just needed a break, so broke my rule. I was desperate for a project that wouldn't require me to think too hard or follow a pattern line by line. I wanted a project that would come together quickly and give me some feeling of accomplishment. And then I remembered that I had leftover yarn from a blanket I made for my sister two years ago before my niece was born. I figured it was okay to stretch my rule since at least I was not spending money on new supplies. 

The pattern I used was a free Lion Brand one - Cascading Colours Baby Blankie. I fell in love with the colours of this pattern when trying to decide what to make my sister and purchased the kit from their site. Luckily there was enough yarn to make a whole second blanket:


I'm not sure just yet what I'll do with this blanket, but it was just the project I wanted - I was done it in about 4 days!
 And some photos of my adorable niece as a baby using this blanket:

 
And my mom getting a cuddle:

I even had enough yarn left to make a few granny squares. When I remember, I try to make a granny square or two from my leftovers in hopes of one day having a blanket made of all these bits from various projects. 

Wednesday, June 29, 2011

Made myself a dress

I had booked the 3 days before my wedding off work because it just seemed like a good idea. Then the days off arrived, and shockingly I was ready for the wedding. I am not sure I'd ever been so organized in my entire life. I decided I needed a craft to keep myself busy!  I had seen this tutorial a few weeks before and loved the idea of combining a tank top and some fabric to make a summer dress. I figured not only would it be an easy project to try out, if it worked out I'd also have a fun new dress to wear on my honeymoon.

I used a Joe Fresh tank top that cost $6 and I think the fabric was about $6 also with my Fabricland membership.  And it all worked out just great:


Unfortunately I'm all squinty faced with the sun in my eyes -but this tree in our yard only blooms for about 4 or 5 days a year, so I thought I better take advantage of the photo opp!

For those of you interested in the sewing details - the tutorial is easy to follow. It took me a few (3!) tries to get the length of the tank top and the fabric to look the way I wanted it. And I was also a bit fussy about properly distributing the gathered stitches - I wanted it to look even. In this photo you may not be able to tell I am wearing a black belt with it - the tutorial suggests using the patterned fabric to make a belt but I thought it would be easier to make the "belt" portion out of the bottom of the tank top. I did not attach it to the dress, just pull it on over top when I wear it. You could also wear with a store-bought wide belt - and that might give the dress a more polished look.   Although the length of the dress looks okay here, I find it a bit short for sitting/bending over so have started wearing tights/leggins with it since this photo was taken. 

Not bad for my first time sewing an actual article of clothing for myself!

Tuesday, June 28, 2011

Wedding Crafts

My motto when planning our wedding was to keep it simple, but as a crafty person I knew the day would have to have some personal touches. I didn't end up making too much for the wedding but we certainly had some bits of DIY craftynesss.

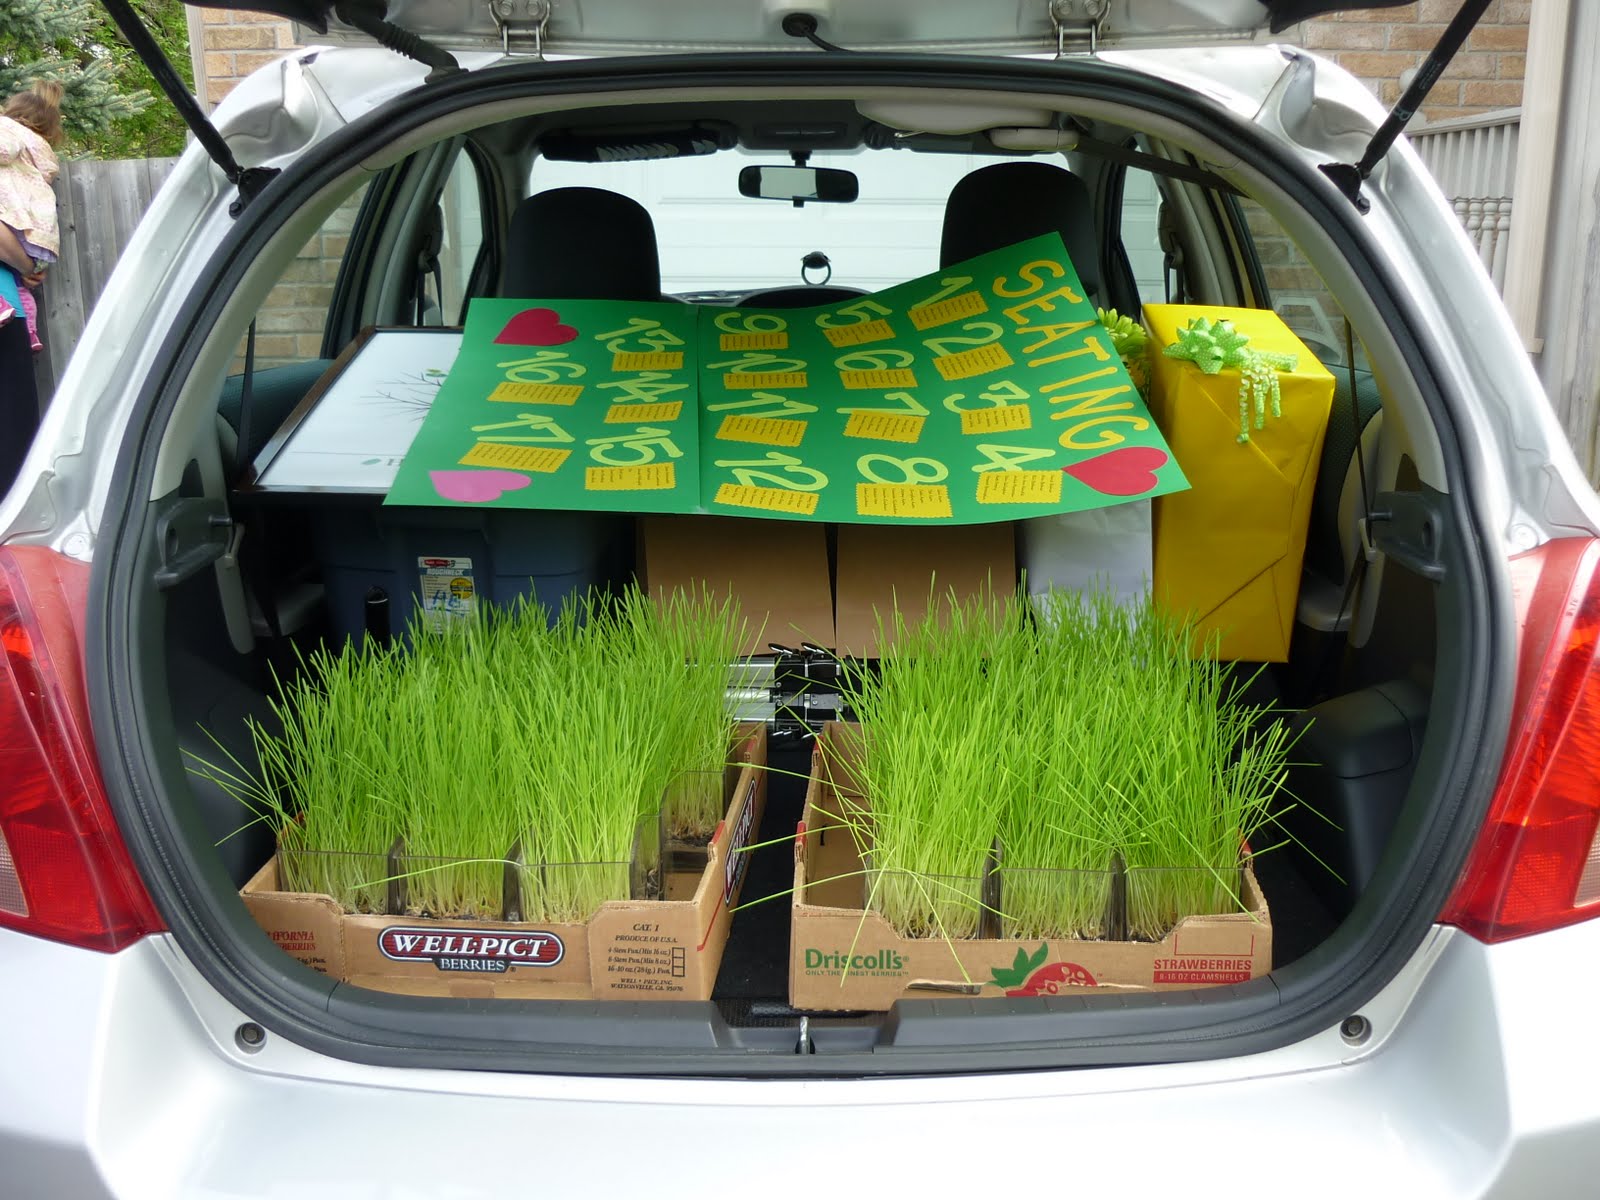
First up - we grew wheatgrass for our centre pieces. My husband gets all the credit for this - he did many tests in the months leading up to the wedding. (You can even see a blurry version of him in the background here!)


They sure looked fun packed into the back of my wee car:


Next - the die cutter at work got some serious attention from me in the weeks leading up to the wedding. I'd bring my paper and spend lunch hours cutting out letters. Then get home and realize I missed one letter and have to go back the next day!

  I made a series of directional signs for guests:
A sign for our DIY photobooth:
(Amanda is a great model)

I made this "Just Married" sign:
I also used the die cutter for our seating chart but can't find a photo of it just now.

My very favourite craft of the whole wedding was a "Just Married" bunting that was displayed behind Dave & I at our "Sweetheart Table" at the reception:
 (with another shout out to Candy by Katie here!)

I had just envisioned this in my head, and made it (with lots of help from my dear friend Amy) with no real idea of where or how we'd used it on the day. Any of you who follow this blog will know it is very similar to the Happy Birthday Banner - the 'Just Married' one was the original bunting - but I kept it top secret until the wedding!  I was just thrilled when it worked out that it looked so perfect on this screen behind us!

Those are all the crafts that I can take credit for but I used the expertise of some other crafty people and think they deserve a shout out. You've already heard about Candy by Katie - but here are the others.

Our invites and a graphic for the ceremony program were done by LovliDay from etsy. I just love her work and was so impressed with the speed and quality of everything I purchased from her. In addition, one of my other favourite things was our guest book. Another one of LovliDay's products - the Wedding Tree. (click the link, you won't regret it)

My next shout out goes to my wonderful mother who made the dessert. Our reception was lunch/brunch time and I really wanted carrot cake cupcakes. Taking this task seriously, my mom created samples with multiple recipes and icing types - taste testing those was so fun. We chose our favourite and here's a photo of them as we were icing them the day before the wedding:
(the caterer garnished with a strawberry on top and berries on the plate - yum!)

Needless to say we had lots of fun icing them:

You may have also noticed a heart shaped cake in those photos. We had decided to do the traditional cake cutting and so asked my mom if she could also make a heart shaped carrot cake. Not only did she do that - she truly made a beautiful wedding cake (would you even know she'd never made one before?):
Thank you mom!

I think those are all the bits of crafty brilliance to share - but I need to also give a special shout out to our photographer as his talents have given us the most beautiful memories of a day we never want to forget! (and he deserves credit for some of the photos above!) Check out his work: http://www.NikPix.ca or http://www.facebook.com/NikPix.ca - if you 'like' him on facebook you can check out more photos of the big day!